
As someone who loves coffee, I know that steaming milk is one of the most crucial steps in creating the perfect cappuccino or latte. I’ve spent hours experimenting with different techniques and tools, and through it all, I’ve come to appreciate the Breville espresso machines. Steaming milk on the Breville is an art that requires a bit of practice, but once you get the hang of it, you’ll be making professional-grade coffee drinks right at home. In this guide, I’ll walk you through the entire process of steaming milk on the Breville, sharing tips, tricks, and everything you need to know to get that perfect froth every time. Discover the advanced features and performance of this machine in our Breville Dual Boiler BES920XL review
Why Steaming Milk on the Breville is a Game-Changer
When it comes to steaming milk, the Breville espresso machines are known for their high-quality steam wands. These wands are designed to help you create a silky, creamy froth for all kinds of coffee drinks, from lattes to macchiatos. I’ve found that the Breville makes it incredibly easy to get consistent results once you understand the basics of how to use it. Learn about the ease of use and innovation in our Breville Barista Touch Impress review
What makes the Breville different from other machines is its precise steam pressure, the intuitive controls, and the overall design of the steam wand. Whether you're a beginner or an experienced barista, these features allow you to craft milk that’s just the right temperature, texture, and consistency. Compare these two popular models in our Breville Barista Express Impress vs Pro review
Getting Your Equipment Ready: Breville Machine and Milk
Before you start, it’s important to have the right equipment and ingredients. The Breville espresso machine is built to handle milk steaming, but there are a few things to keep in mind to ensure that the process goes smoothly.
First, choose the right milk. I’ve experimented with different types of milk, and I’ve found that whole milk froths the best. It has the perfect balance of fat and protein to create a creamy, smooth texture. If you prefer non-dairy milk, oat milk and almond milk also steam quite well, though they may require slight adjustments to achieve the desired texture. Find out which machine suits you better in our Breville Barista Pro vs Express review
Next, make sure you have the proper steaming pitcher. A stainless steel pitcher is ideal because it retains heat well and allows you to pour milk easily. I always recommend using a pitcher with a sharp spout for better control over your pour.
Lastly, check that your Breville steam wand is clean. Residual milk buildup can affect the taste and texture of your foam, so it's always good practice to clean the wand before and after each use. Explore the key differences between these premium machines in our Breville Oracle vs Oracle Touch review

How to Steam Milk on the Breville: Step-by-Step Instructions
Now that you have everything set up, let’s get into the specifics of how to steam milk on the Breville. Here’s a step-by-step guide that I personally follow whenever I want to make the perfect cup.
- Turn on Your Breville and Preheat
The first thing I do is turn on the Breville espresso machine and let it warm up. This usually takes a few minutes. You want the machine to be at the optimal temperature for steaming milk, so don’t skip this step. Most Breville models will indicate when the machine is ready by showing a green light or another signal. - Prepare Your Pitcher and Milk
While the machine is warming up, I fill my milk pitcher with the amount of milk I need for my drink. For a standard latte, I typically use around 6 to 8 ounces of milk. Remember, the milk will expand as it froths, so be sure to leave some room at the top of the pitcher. - Purge the Steam Wand
Before steaming, I always purge the steam wand. To do this, I turn on the steam function for just a second, letting the steam flow out and ensuring there’s no leftover water or milk residue inside the wand. This simple step helps avoid any unwanted splattering when I start steaming. - Position the Steam Wand Correctly
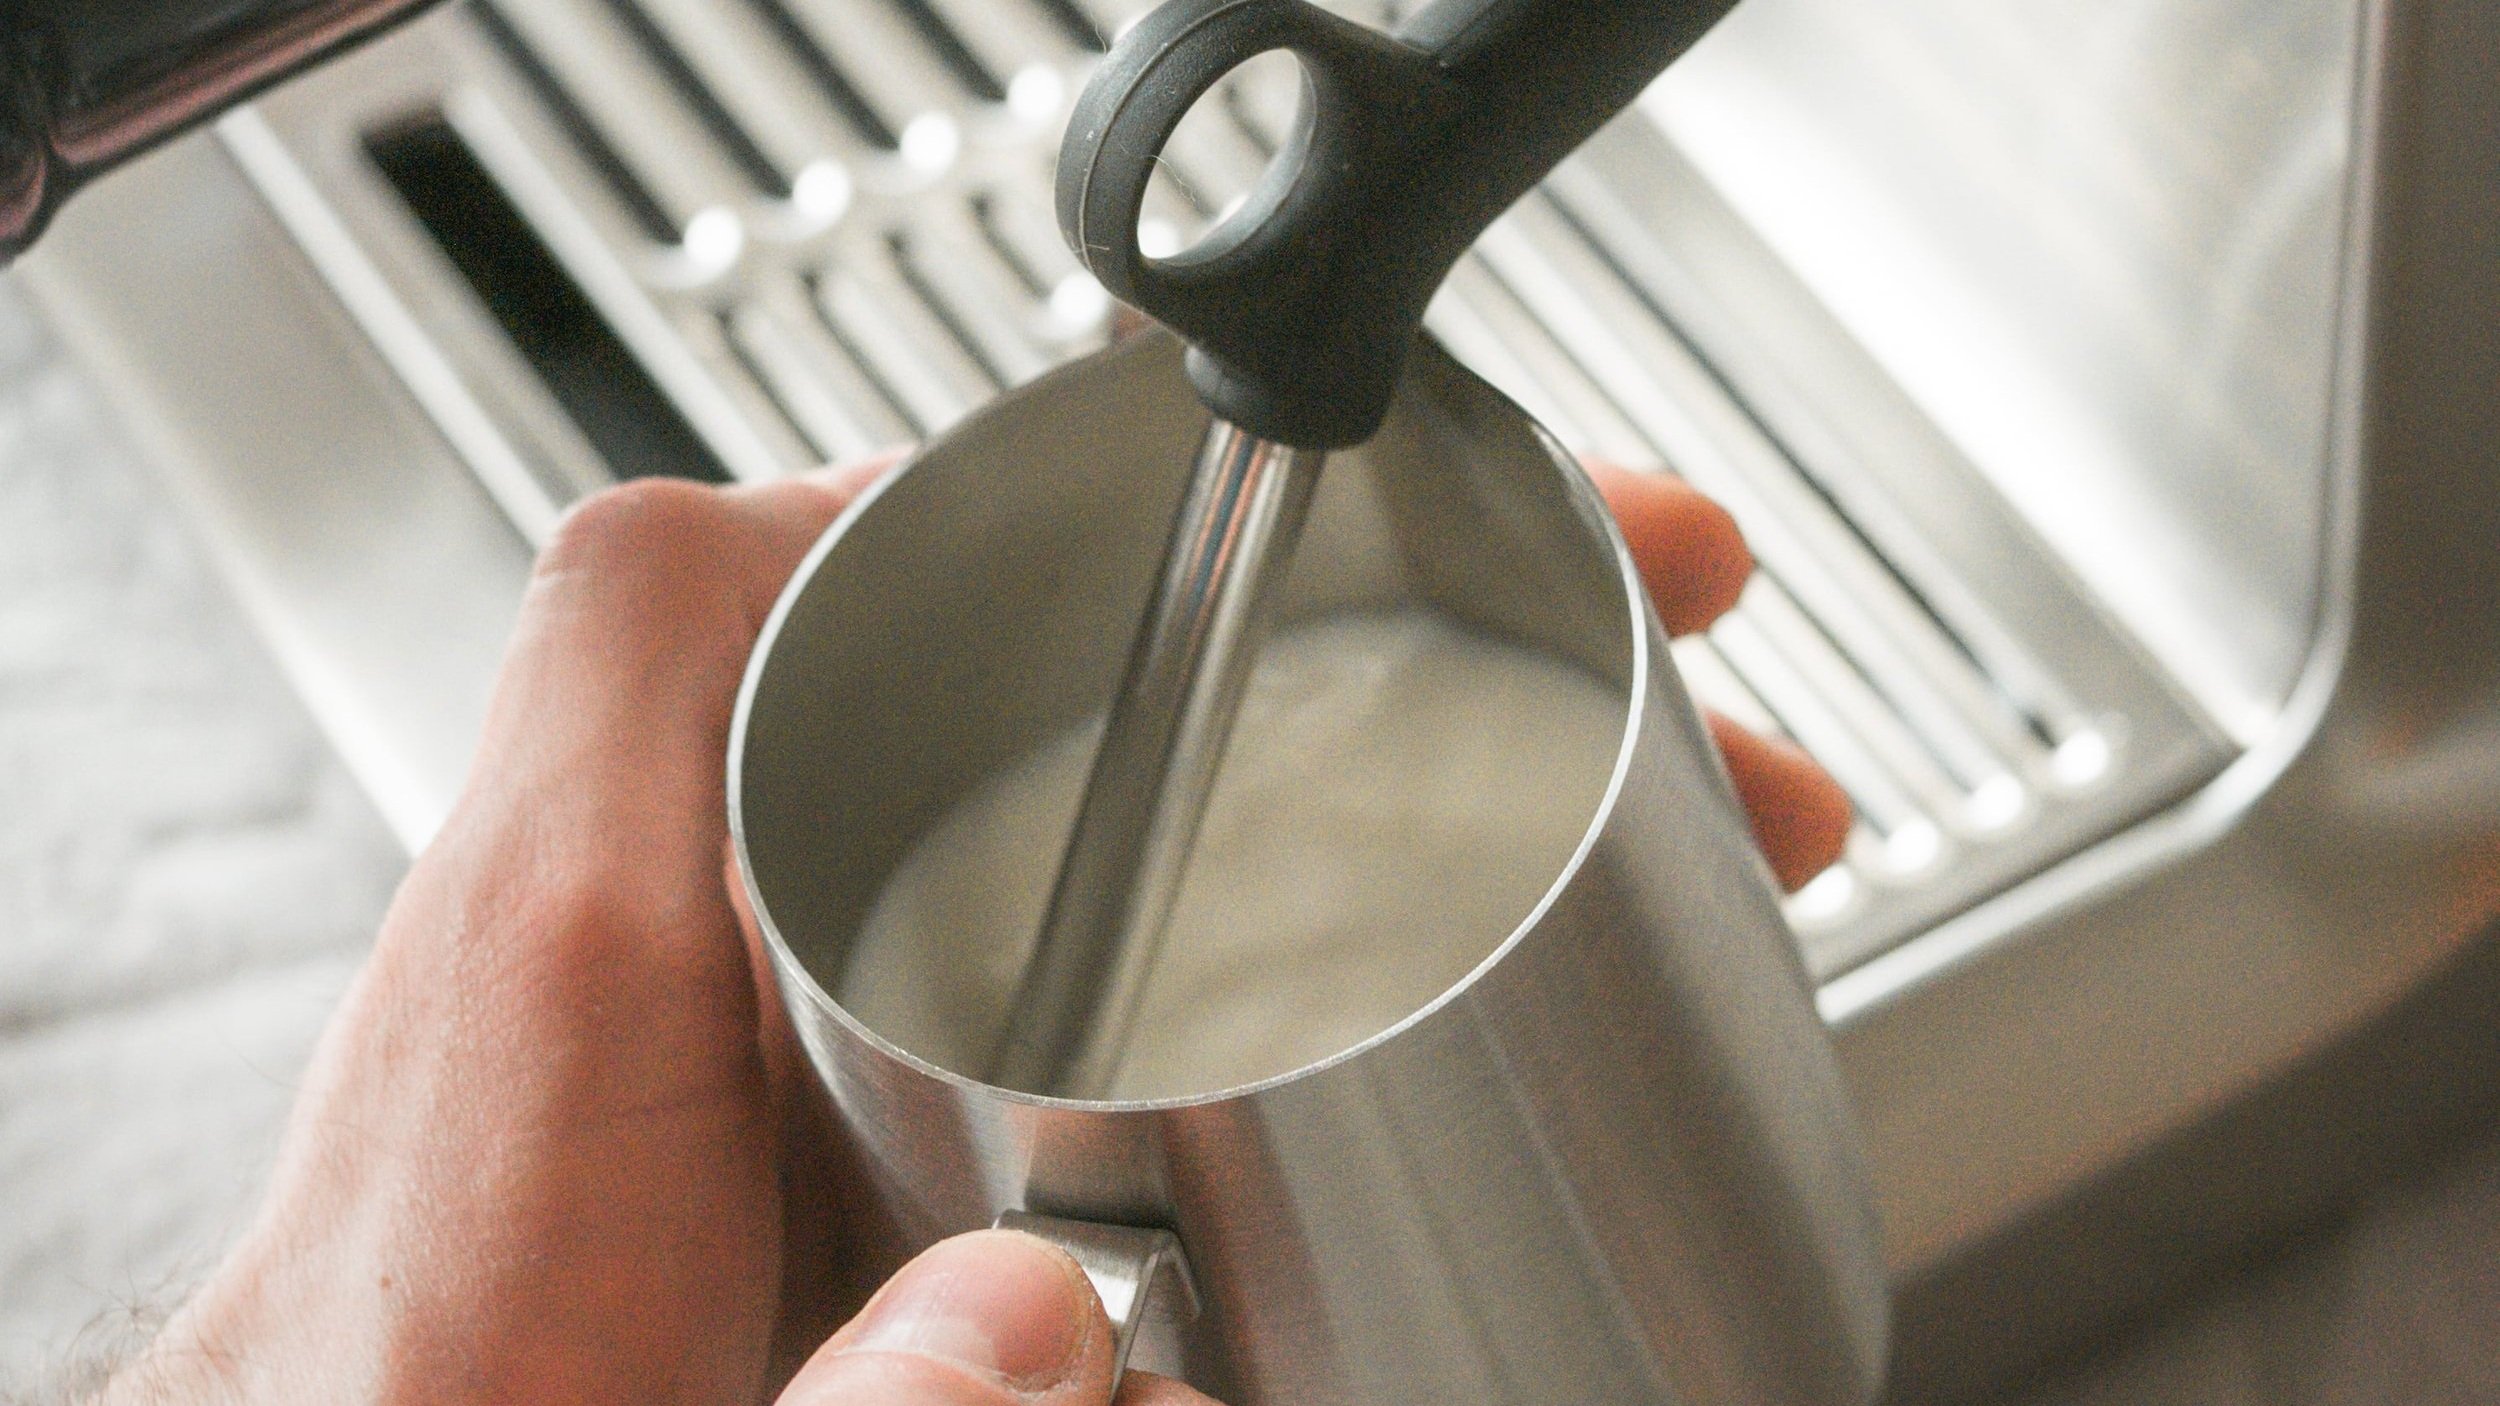
Next, I insert the steam wand into the milk pitcher, making sure it’s just below the surface of the milk. The key is to position the wand at a slight angle to create a whirlpool motion. This helps incorporate air into the milk, giving it that smooth texture. For the best results, I aim to have the tip of the wand just below the surface of the milk during the frothing process. - Turn on the Steam and Froth the Milk
Now comes the fun part! I turn on the steam function, and as the steam begins to froth the milk, I listen carefully. The sound you’re looking for is a gentle “hissing” or “screeching.” If it’s too loud or splattering, the wand is too deep in the milk, so I adjust the position. If the sound is too soft, I lower the pitcher slightly to allow more steam to enter the milk.
I keep an eye on the milk’s temperature using a thermometer, aiming for a range between 150°F and 160°F. This is the sweet spot for most milk-based drinks. If the temperature goes beyond 170°F, the milk can start to scorch, affecting both the taste and texture.
- Finish Steaming the Milk
As I approach the ideal temperature, I pull the steam wand out of the milk just slightly. This will help me avoid creating too much foam and allow the milk to become creamy. At this point, the milk should be smooth and velvety, with a small amount of microfoam at the top. - Turn Off the Steam Wand and Clean It
Once I’ve achieved the right froth, I turn off the steam wand and immediately clean it. I use a damp cloth to wipe down the wand and purge it again to clear out any remaining milk. This ensures that it stays in good condition for future use. - Pour and Serve
Finally, I pour the steamed milk into my espresso shot, making sure to create the right ratio of foam to milk for my drink. If I’m making a latte, I pour slowly to create a beautiful, smooth layer of foam on top. If I’m making a cappuccino, I pour with a bit more speed to create a thicker, frothy layer.
Troubleshooting Common Issues When Steaming Milk on the Breville
Steaming milk can be a bit tricky at first, and there are a few common problems you might encounter. Here are some troubleshooting tips based on my experience:
- Milk Isn’t Frothing Properly: If the milk isn’t frothing as it should, make sure that the steam wand is positioned correctly and that the milk is fresh. Older milk or milk that’s too cold may not froth as well. Also, check if your steam wand is clean and free of any blockages.
- Foam is Too Large or Too Small: If the foam is too large, you might be introducing too much air into the milk. Try adjusting the position of the steam wand so it’s closer to the surface. If the foam is too small or not creamy, you might need to adjust the angle or ensure the milk isn’t too hot.
- Milk Scorches: If your milk is burning or tastes off, it’s likely that the temperature is too high. Try stopping the steaming process when the milk reaches 150°F, and never go beyond 160°F for the best results.
Tips for Perfecting Your Steamed Milk Technique
While the Breville machine makes the process relatively easy, it takes a bit of practice to perfect the technique. Here are a few extra tips that have helped me refine my skills over time:
- Use Fresh Milk
Fresh milk froths better than milk that’s been sitting around for a while. Make sure to always use milk that’s been properly refrigerated. - Don’t Overfill Your Pitcher
Overfilling your milk pitcher can cause the milk to overflow when you start steaming. Always leave enough room for the milk to expand during the frothing process. - Master the Pour
Perfecting your pour technique can take time, but it makes a huge difference. Practice pouring slowly and steadily to create smooth layers of foam in your drink. - Experiment with Different Milk Types
If you’re looking for alternatives to whole milk, try experimenting with oat milk, almond milk, or soy milk. Just keep in mind that these types of milk may require slight adjustments in frothing technique.
Conclusion: Mastering the Art of Steaming Milk on the Breville
Learning how to steam milk on the Breville is a rewarding experience, and it opens up a world of possibilities for creating café-style drinks right in your kitchen. Whether you’re making a classic latte, a rich cappuccino, or a velvety flat white, steaming milk properly is a key step in achieving that perfect cup of coffee.
With the Breville, you have the tools to experiment and refine your technique over time. So, take your time, practice, and enjoy the process of creating the perfect frothy milk for all your coffee drinks. In no time, you’ll be impressing yourself—and anyone who’s lucky enough to share a cup with you.
Frequently Asked Questions (FAQs) About Steaming Milk on the Breville
How long does it take to steam milk on the Breville?On average, it takes about 30 to 45 seconds to steam milk on the Breville, depending on the amount of milk you're using and the machine's settings. Always ensure the milk reaches the optimal temperature of 150°F to 160°F for the best texture.
Why is my milk not frothing properly on the Breville?There could be several reasons. Ensure that the steam wand is clean and positioned correctly just below the surface of the milk. Also, try using fresh, cold milk for better frothing results.
Can I steam milk with non-dairy alternatives like almond or oat milk on the Breville?Yes, Breville machines can handle non-dairy milk. Oat milk generally froths well, while almond milk may be a bit more challenging. You may need to adjust the steaming time or position slightly depending on the milk type.
What is the best milk for steaming on the Breville?Whole milk is often considered the best choice for steaming due to its fat content, which creates smooth, creamy foam. However, if you prefer non-dairy milk, oat milk is one of the best alternatives for frothing.
How do I clean the steam wand on the Breville?After every use, immediately wipe the steam wand with a damp cloth and purge it by briefly activating the steam function. This helps remove milk residue, preventing it from clogging the wand or affecting the taste of your next cup.
What temperature should the milk be when steaming on the Breville?For the best results, steam your milk to a temperature between 150°F and 160°F. If the milk gets too hot (over 170°F), it can scorch and affect both the texture and flavor.
Can I steam milk without frothing it on the Breville?Yes, you can steam milk without frothing it by keeping the steam wand deeper in the milk and avoiding the creation of air bubbles. This method is great for drinks like flat whites, which require smooth, steamed milk without foam.
Why is my milk overflowing when I steam it on the Breville?If your milk overflows, it’s likely because you’ve overfilled the pitcher. Always leave enough room for the milk to expand as it froths. A good rule of thumb is to fill the pitcher to no more than halfway.
How do I create microfoam on the Breville?To create microfoam, position the steam wand just below the surface of the milk, at a slight angle. As you steam, introduce small amounts of air into the milk until you hear a gentle hissing sound. This will result in a creamy, velvety microfoam.
Can I steam milk directly from a cold fridge on the Breville?Yes, you can steam milk directly from the fridge. In fact, cold milk froths better than milk at room temperature. Just make sure you use fresh milk and follow the proper steaming technique for the best results.